
By Gregg Smith · Ice season 2026–27
Before your first ice-fishing session, it helps to know whether your flasher is showing the whole depth range or a closer view of one band. This exercise gives ECHOMAP Ultra 2 owners a useful starting routine. It explains an existing feature, not a newly released ice-fishing update.
What the Zoom switch changes
Garmin’s January 7, 2026 marine bulletin describes the yellow quick-toggle button on the flasher page. With Zoom enabled, the flasher and left A-scope use the zoomed view. With Zoom disabled, the flasher and right A-scope use the full range. The Ultra 2 change history also records the flasher’s quick A-scope switch.
Garmin’s illustrated explanation, page 5 · Ultra 2 software history
Try this one-control-at-a-time exercise
- Begin with the full range. In an appropriate fishing setup, identify the bottom and watch your own lure move. Note the displayed depth range before changing anything.
- Enable Zoom. Compare the active A-scope and flasher. Ask whether the depth band you want to watch is actually inside the selected window.
- Move the window. Garmin’s touchscreen flasher shortcuts let you drag vertically to reposition the zoom area. You can also move the left A-scope’s zoom window. Spread two fingers to enlarge the view; pinch to reduce it.
- Compare again. Toggle back to full range, then return to the closer view. Follow the same lure movement so you learn what changed on the display.
- Record your baseline. Note range, gain, frequency, zoomed depth band and the conditions. Keep the rest unchanged while learning the zoom control.
Garmin’s touchscreen flasher shortcuts also identify range, frequency, gain and beam-width controls.
A baseline is more useful than someone else’s magic number
Do not copy a screenshot’s depth or gain value as a universal recommendation. The useful question is whether you can follow your lure in the depth band you are fishing. Record what worked for your actual transducer and conditions, then change one control when you need a different view.
For your first practice, pick one goal: confidently switching between full range and a selected band. Save more advanced tuning for a separate comparison. That makes the exercise easier to repeat and easier to explain to a fishing partner.
Pack for an easy next session
Keep your display cover and transducer cover in their own accessible spots while fishing. Put the appropriate cover back on for transport, following the accessory’s intended use. A cover is transport gear; it does not replace the correct ice transducer, power setup or sonar settings.
Explore Sonar Shield gear
Fishing Graph Cover Straps help retain a separate display cover between trips. Check the current product options for your setup.
Shop model-specific transducer covers for the transducer connected to your display. Choose by the transducer model, not the screen name, and remove its cover before use.
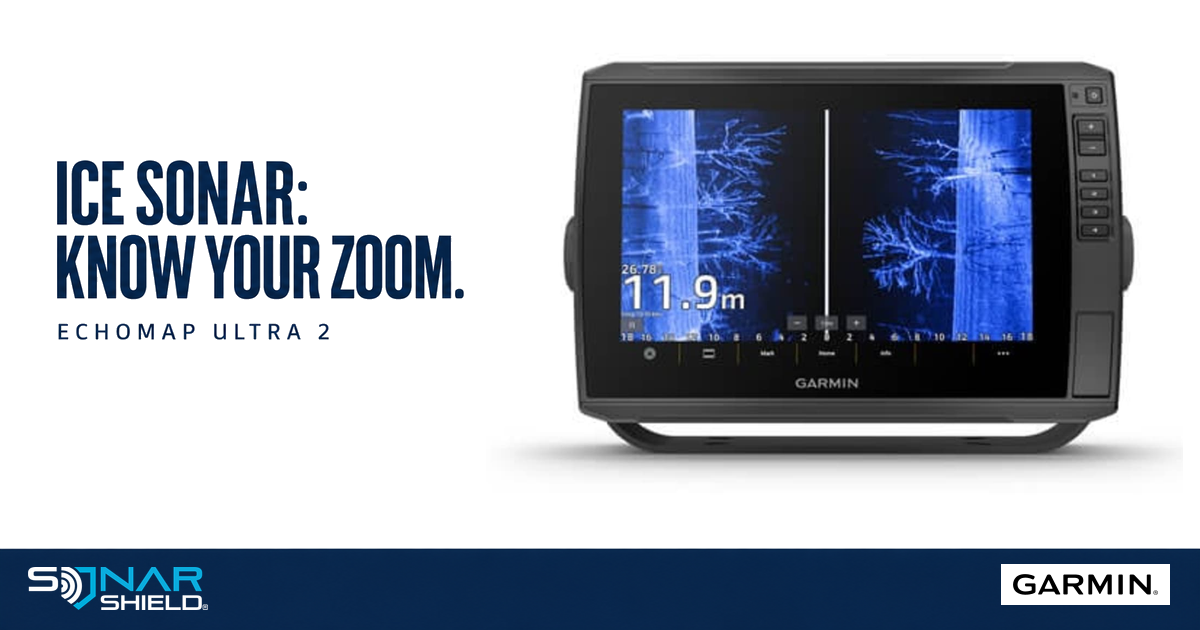
Garmin supplied the catalog product image used for identification. Its pictured sonar screen is not flasher mode. Sonar Shield is the independent publisher.