
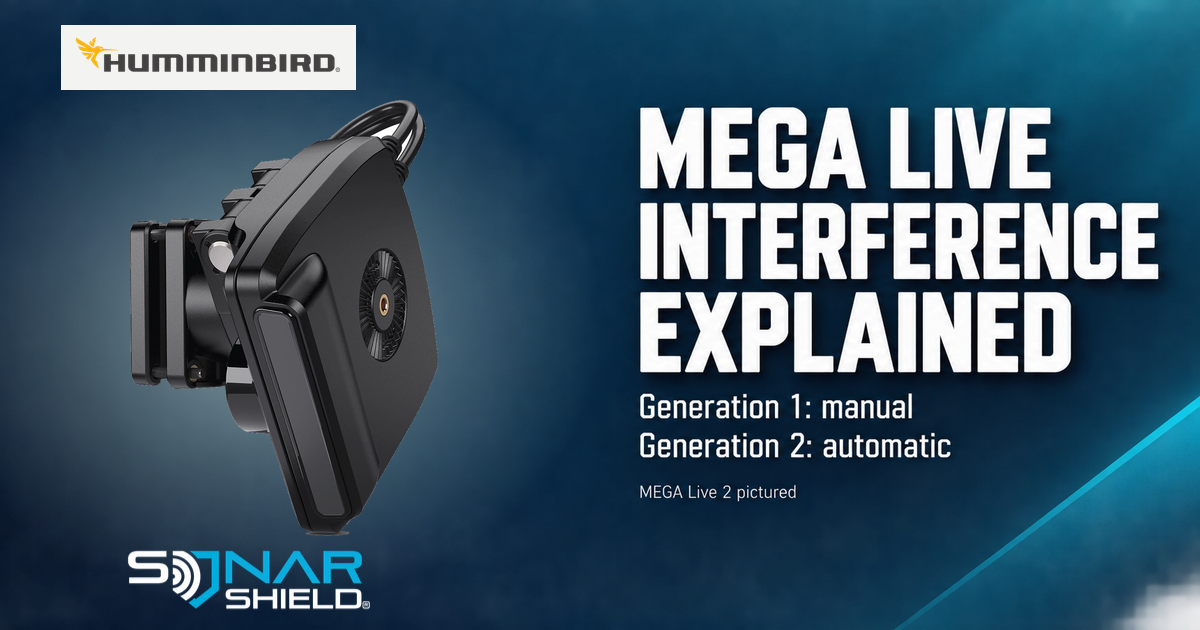
Before searching for a missing interference setting, identify which MEGA Live generation you own. Humminbird documents manual control for MEGA Live 1 and automatic operation for MEGA Live 2. This is a settings and troubleshooting guide based on existing support instructions, not a new firmware-release announcement.
The useful starting points
- MEGA Live 1 with MEGA 360: Humminbird recommends interference rejection/avoidance enabled at Low, and all boat units on the same Ethernet network.
- MEGA Live 2: there is no manual interference rejection/avoidance setting to find. This function is automatic.
Source: Humminbird’s MEGA Live/MEGA 360 guidance, updated August 25, 2026, and interference support article, updated March 20, 2026.
Where to find the MEGA Live 1 control
| Display / software | Menu and available control |
|---|---|
| HELIX | Press MENU twice → Accessories → MEGA Live → Interference Rejection. Use cursor keys. Low is least filtering; High is strongest; Off disables it. |
| APEX / SOLIX, version 4.210 and earlier | HOME → Settings → CHIRP Sonar → MEGA Live → Interference Rejection. Enable it, then adjust: 1 is least filtering; 3 is strongest. |
| APEX / XPLORE / SOLIX G3, version 5.060 and later | HOME → Settings → Sonar → MEGA Live. Use the interference control shown for your connected first-generation accessory. |
The menu paths and older numeric scale are documented in Humminbird’s interference instructions and MEGA Live Imaging manual, page 43. Do not assume a menu path for an unlisted software generation.
Check the network before chasing the picture
Humminbird says MEGA Live 1’s network-aware rejection cannot address sources it cannot detect outside the shared network. For interference between MEGA Live and MEGA 360, the manufacturer also says moving cables, altering the 2D noise filter or changing frequencies will not solve that specific issue. Those instructions do not diagnose every kind of screen noise. Read the full model-specific guidance.
A comparison routine you can repeat
The following is Sonar Shield’s suggested observation routine, rather than a manufacturer preset:
- Write down the starting setup. Record the transducer generation, display model, software version and which other sonar sources are operating. Take a normal screenshot if your display supports it.
- Choose one symptom to track. Describe what you see: a recurring band, scattered marks or a problem that appears only with another source running. “Noise” by itself gives you little to compare later.
- Make one applicable change. With MEGA Live 1 and MEGA 360, start from the documented Low recommendation. Keep the scene, range and other controls as consistent as conditions permit. Observe both unwanted marks and the useful target you were following.
- Record the result. If a change does not help, keep that finding. Do not keep stacking unrelated adjustments until you can no longer explain the starting point.
If the symptom persists, share that record with Humminbird support. Avoid treating one noisy image as proof of a firmware defect. A connection failure is a different symptom; our MEGA Live 2 restart guide covers Humminbird’s documented timing for that situation.
Which generation and display are you using, and when does the interference appear? Specific setup details make community discussion far more useful.
Explore Sonar Shield gear
Once the setup is working, choose travel protection for the equipment you actually own. The first card is specifically for MEGA Live 1; the second is for a display cover.

MEGA Live 1 Transducer Cover
A soft neoprene travel cover for the first-generation MEGA Live transducer. This recommendation is for MEGA Live 1 only; it is not a compatibility claim for the MEGA Live 2 pictured above.

Fishing Graph Cover Strap
Help retain your graph cover during travel and storage. Choose the Single, Twin or XL option for your display and cover; check fit details before ordering.
Visit the product pages for current prices, options and availability. Select products for the exact equipment you own.
MEGA Live 2 product image and manufacturer logo: Humminbird. The hero photograph shows MEGA Live 2; the article compares both generations. Independent editorial coverage by Sonar Shield.