
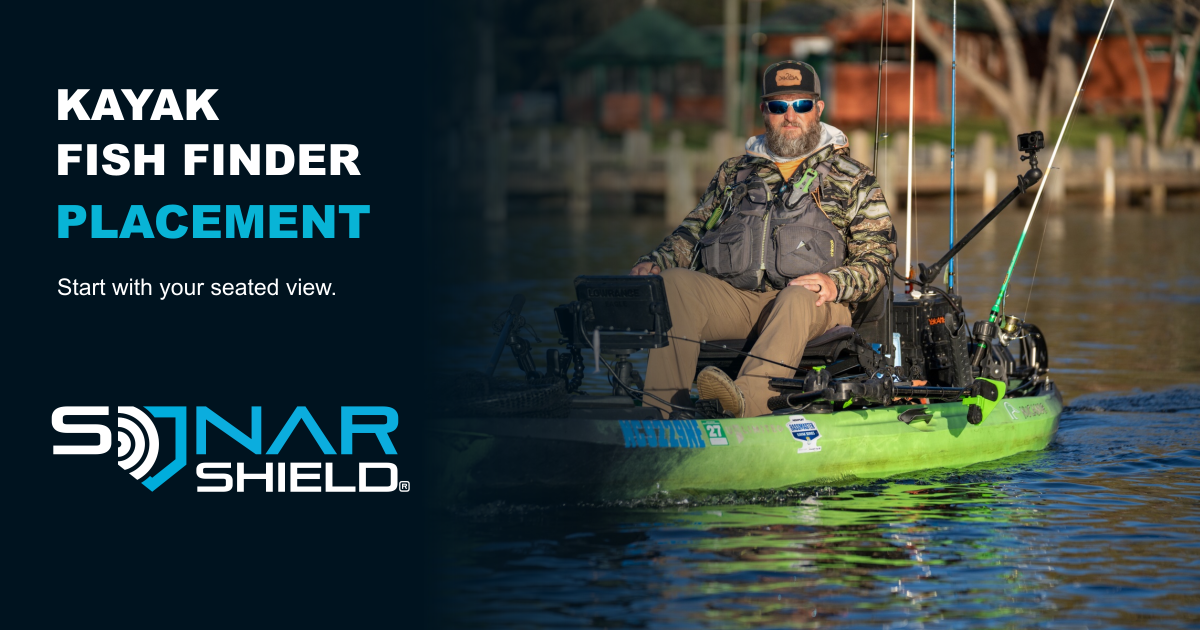
A kayak fish finder should be easy to glance at and operate from the position you actually fish. Before choosing a permanent location, compare the view from your seat with the space you need for your paddle, rods and landing net.
This is Sonar Shield's practical layout review, not a drilling template or model-specific installation procedure. Use your kayak, mount and fish-finder manufacturers' instructions for attachment points, fasteners and cable installation.
Start with three checks from your seat
- View: sit in your normal fishing position and look at the proposed screen location. Can you read the information you use without holding an awkward posture? Repeat with the sunglasses you normally wear.
- Reach: check whether you can operate the controls you use most while remaining comfortably seated. A location that looks tidy from shore may be inconvenient once you are in the seat.
- Working space: go through your normal paddle, rod and net movements with the kayak supported securely on land. Notice where an accessory could crowd those movements. Keep entry and exit space in mind too.
Make this a comparison between two possible locations, not a contest to copy someone else's rig. Write down one advantage and one drawback for each. Your seat position, preferred casting side and net storage can make a useful difference to your choice.
Separate screen visibility from sonar performance
If the display is difficult to see, first describe the problem accurately: reflection, viewing angle, reach or the information shown on screen. A visor is a screen-shading accessory; it does not change transducer alignment, sonar coverage or target separation.
Sonar Shield offers fish-finder visors for named display models. Check the exact model and screen size on the product listing before selecting one. Similar-looking displays are not proof of the same fit. Use the relevant product instructions rather than assuming the photograph shows your specific model or mounting method.
Try the layout before committing to it
With the kayak securely supported, compare the proposed position with your normal fishing routine. Place the equipment only in a way that will not let it fall or load an unsupported surface. Do not drill or improvise a fastening method just to test an idea.
Once you have a promising location, read the installation instructions for your actual equipment. A commercial mounting kit may bundle several parts: for example, Lowrance describes its Portable Kayak Kit as a way to mount the display, battery and transducer. That product example is not a compatibility recommendation for every kayak or fish finder. Confirm each component against the manufacturer's listing.
Keep a simple layout note
- Kayak, seat position and fish-finder model:
- Location A: what is easy; what gets in the way?
- Location B: what is easy; what gets in the way?
- Controls I use most:
- Paddle, rod, net and entry/exit clearance:
- Manufacturer instructions still needed:
A quick note makes the decision easier to revisit when you add another accessory. It also gives other anglers useful context when you ask for help.
Share the detail that made your setup work
Is your fish finder on the left, right or in front of your seat? Tell us your kayak and display model, plus the reason that position works for your fishing routine. Specific answers help the next angler more than a single “best mount” recommendation.
Follow Sonar Shield on Facebook for more practical discussion, explore Understanding Sonar, or save our transducer transport checklist for the trip home.
By Gregg Smith. Sources checked September 13, 2026. The photograph illustrates a real kayak layout; no endorsement, universal fit or measured performance improvement is claimed.