
Before the 2026–27 ice season, get familiar with three controls on the original Garmin STRIKER 4: the flasher view, gain and depth range. A short practice session can make the screen easier to interpret when you are fishing vertically.
This guide follows Garmin's STRIKER Series owner's manual, January 2025, version 7. Check your exact model and compatible transducer; STRIKER Plus, Vivid and LiveScope have their own guidance. These are existing controls, not a new firmware announcement.
1. Read the flasher ring
Select Flasher. The circular scale starts at the top and runs clockwise, with depth indicated inside the ring. Colors distinguish return strength. Learn where the bottom appears before trying to follow a lure or another target.
2. Set gain deliberately
From a sonar screen, open Menu > Gain. Garmin's manual procedure is to raise gain with the up or right arrow until water-column noise begins to appear, then lower it with the down or left arrow.
For automatic control, choose Enable Auto Gain if offered, then Auto High, Auto Med or Auto Low. High shows weaker returns with more noise; Low reduces noise and sensitivity. On split-frequency screens, adjust each frequency separately.
3. Choose a useful depth range
Open Menu > Range. Auto follows the bottom; manual range shows a chosen depth span. On the four-inch models, use the left and right arrows to adjust it. Keep the bottom inside that span when you want to see it. A range change applies across screens.
Practice one change at a time
Here is an original Sonar Shield practice exercise. With the compatible transducer correctly positioned in water, start where the bottom is easy to identify. Note your view, depth range and gain mode. Watch the screen while you make one small lure movement, then pause and compare what changes.
Next, change only gain. Return to your starting point before experimenting with range. Separating those two adjustments makes it easier to understand what each one does. The goal is a view you can explain, not a setting number copied from someone else's water.
Keep a short note for your next trip: depth, range choice, gain mode and the observation that helped most. There is no universal gain percentage in this guide. Conditions, transducer choice and the target you are trying to follow all matter.
Keep gear choices model-specific
Shop STRIKER visor options if screen shade is useful for your setup, or browse Sonar Shield accessories. A visor is a shade accessory; the sonar controls above are functions of the Garmin unit.
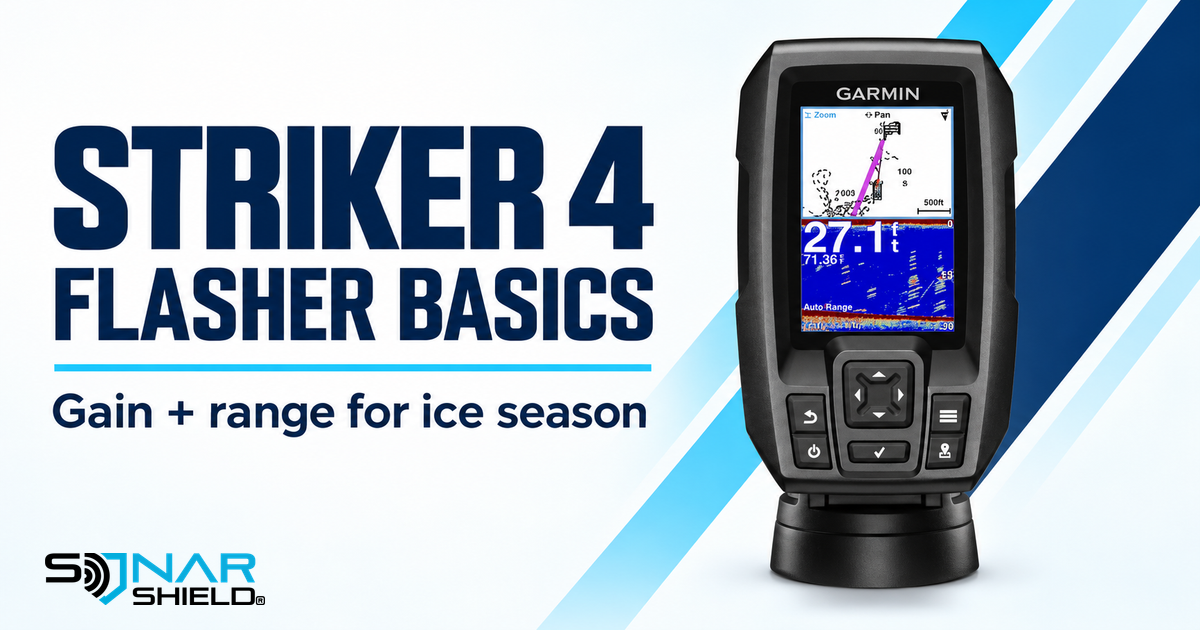
Device image: Garmin. The product photo shows the supplied standard sonar display, not an example flasher return. For ring illustrations and complete controls, see pages 9 and 12 of the linked manual.