
Start with a question the screen can answer
Before ice season, learn where your own fish finder's essential controls are. On a compatible ECHOMAP UHD touchscreen, the flasher view offers direct controls for range, frequency, gain and beam width. Garmin's Flasher Page Shortcuts also explains moving the zoom area by dragging and changing zoom with pinch/spread gestures. These directions apply to the documented touchscreen view; other models and transducers can expose different options.
A practical starting sequence
The following is Sonar Shield's original practice plan. It is not a universal numeric preset. Use your model's manual and a suitable installed ice transducer, and make comparisons under the same conditions.
- Find the depth range control. Check whether the selected range includes the area you need to observe. Note the current choice before changing it.
- Identify your jig with a deliberate movement. When fishing conditions allow, move it slowly enough that you can compare the motion with the return on the screen. Do not label every return a fish.
- Adjust gain in small steps. Record the starting setting, compare the view, and stop to observe before another adjustment. Do not change range, gain and several filters together.
- Use zoom for a specific depth band. On the documented touchscreen flasher, drag the zoom area to the depth you want to examine. Keep the larger depth context in mind.
Write down what a change actually did
A useful practice note has four fields: selected range, gain setting, depth band and what changed. For example, write that a deliberate jig movement became easier to follow after one adjustment. Avoid writing that a setting “makes fish bite” when you only observed a different display.
If the jig remains hard to identify, check the transducer arrangement and the exact model's instructions before adding more changes. Position, supported beam options and equipment configuration are different questions from gain. Start with what is known about your setup.
Prepare the routine before the first outing
At home, locate the manual and identify the controls without treating a demo screen as evidence of real fish detection. Prepare a short note with the controls you intend to compare. Do live sonar comparisons only in appropriate fishing conditions and follow local ice guidance; this settings exercise does not determine whether ice is safe.
Our separate ICE HELIX interference-rejection guide covers a different manufacturer's controls. Do not transfer its menu names or numeric choices to your Garmin.
Keep your accessory choice model specific
If you are preparing electronics for travel, browse Sonar Shield accessories for your exact equipment and use their intended fitting directions. Accessories and screen settings serve different purposes.
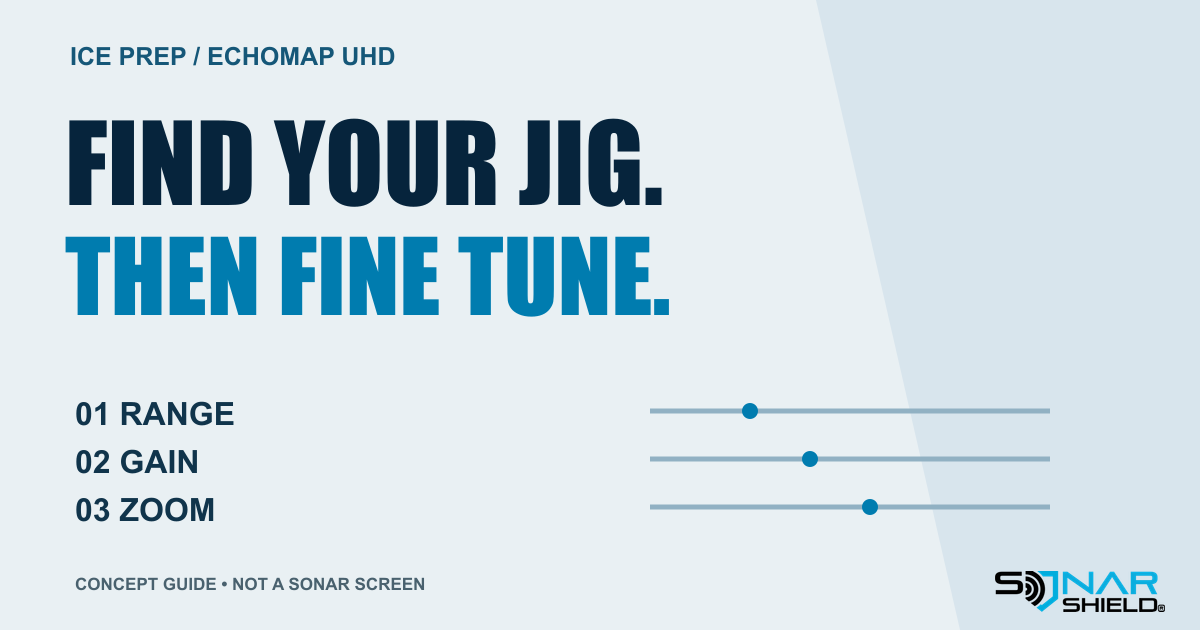
What is the first control you look for on a new flasher? Learn that control well, then make the next comparison. The graphic is a conceptual learning aid, not a screenshot, a recommended numeric preset or a promise of improved catches.
Created with AI assistance using Sonar Shield's topic direction and research from the sources cited in this article.