
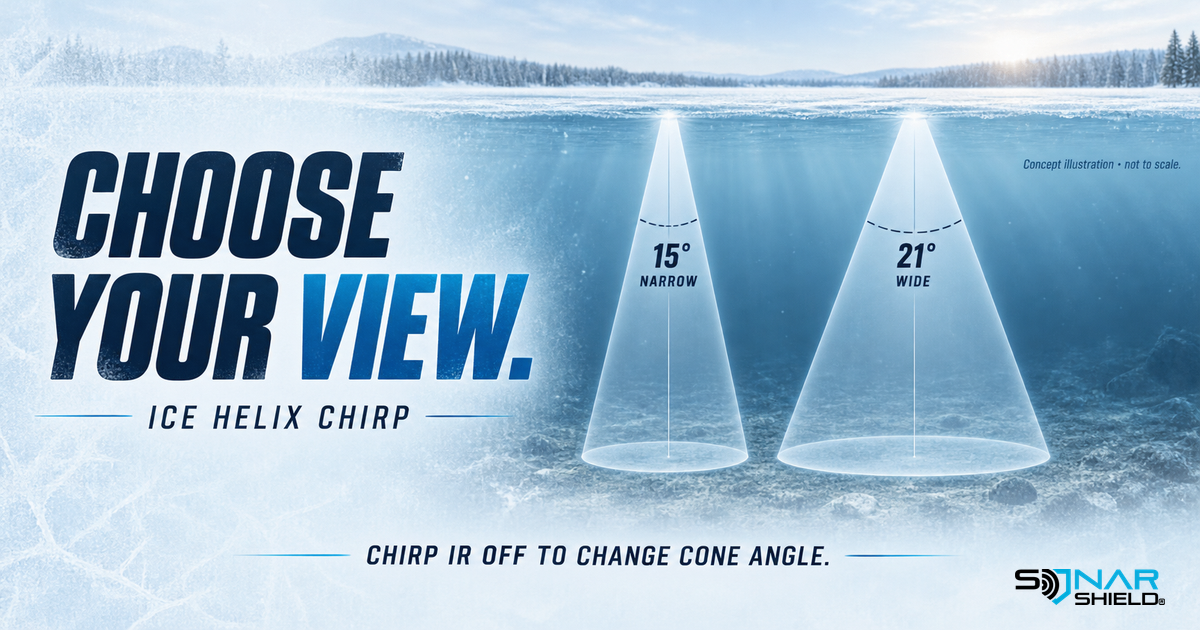
When your ice sonar offers more than one beam choice, the useful question is not which number is universally best. It is what area you want to observe and how the choice changes the view on your own setup. For compatible ICE HELIX CHIRP equipment, Humminbird documents specific cone-angle options and one important menu dependency.
The documented choices
According to the ICE HELIX CHIRP Quick Start Guide, page 1, 15° gives a narrower down beam, 21° provides wider coverage, and 15°–21° uses the transducer's full frequency range. These are CHIRP-model options. CHIRP IR must be off before changing Cone Angle.
Where to find the control
- Use VIEW to display a Sonar view.
- Press MENU once to open the X-Press Menu.
- Set CHIRP IR to off, then select Cone Angle and the supported option you want to compare.
Use the guide for your exact control head and compatible transducer. The documented settings are not a promise that every HELIX model or connected transducer exposes the same menu.
Compare one variable at a time
Here is a suggested Sonar Shield practice routine. Pick a familiar fishing position and note your starting depth range and gain. Keep those settings steady while comparing beam choices, rather than changing everything together. Observe how consistently you can follow the target you are watching, and write down what changed.
Use the narrower and wider choices as two questions about the same location. Do you prefer a more focused view beneath your position, or are you trying to observe a broader area? A wider view is not automatically a better view; a narrower view is not automatically more useful. The purpose of the comparison is to identify what helps you interpret the screen.
Why depth belongs in your notes
A cone spreads as it travels away from its origin. That means the footprint at one depth differs from the footprint at another, even when the selected angle stays the same. Do not compare two screenshots from different depths as if the angle were the only difference.
We are deliberately not presenting a hard-edged detection boundary or a guaranteed target count. The geometric idea helps explain the menu; actual returns still need to be interpreted on the water.
Keep interference separate
If nearby sonar makes the display difficult to interpret, treat that as a separate adjustment. Record the cone-angle comparison first, then revisit the interference controls as needed. Our sonar-settings articles include a separate ICE HELIX interference guide; avoid copying settings between different sonar generations without checking the relevant instructions.
A useful pre-season note
Save a short record: exact unit, transducer, depth, beam choice and what you could follow clearly. That gives you a starting point for the next trip without pretending one setting fits every situation.
Accessories for your own setup
Browse Sonar Shield's model-specific covers and visors. Accessories can support your equipment routine; they do not change the beam or replace the manufacturer's controls. Match any accessory to the exact device you use.
Source: Humminbird ICE HELIX CHIRP Quick Start Guide, 532586-3_B. Artwork is an explanatory illustration, not a sonar screenshot or a measured beam boundary.
Created with AI assistance using Sonar Shield's topic direction and research from the sources cited in this article.